6 Simple Steps to Making The Best Cannabis Infusions (+ Helpful Tips!)
Disclaimer: This post may contain affiliate links where I may earn commission from qualifying purchases.

WHAT ARE CANNABIS INFUSIONS?
Cannabis infusions are products that combine decarboxylated cannabis with an ingredient. Some of the most popular cannabis infusions include cannabutter, cannabis coconut oil, cannabis MCT oil, and much more. Cannabis infusions are typically made with a fat-based ingredient like butter, but it can also refer to products such as water-soluble dissolvable cannabis infused powder, or cannabis infused beverages like a sparkling water. With the new technologies coming out every year, there are more and more cannabis infused products are coming out to the market and truly advancing the cannabis industry and changing behaviours in how people consume cannabis in the modern day. In this article, I will be referring to cannabis infusions as DIY home infusions like homemade cannabutter or cannabis infused olive oil.
STEP BY STEP INSTRUCTIONS ON HOW TO MAKE THE BEST CANNABIS INFUSIONS AT HOME
Disclaimer: Information presented on this post is intended as a personal and professional representation of my views on food, nutrition, and cannabis. This post is designed for educational purposes only. It is not intended to be a substitute for informed and personalized medical advice or care. Please consult your physician or health care provider before making cannabis infusions.
Step 1: Choose your starting Material
The first step in creating your infusion is determining the format and profile of your starting material - what form of cannabis you want to use, what cultivar/strain you want to use, and what cannabinoids do you want to have in your infusion? Most popular infusions are made with dried cannabis flower, however you can also infuse concentrates such as hash, rosin, or kief. The main difference is that concentrates will generally have a higher potency than dried cannabis flower. You can read more about cannabis concentrates here. It's important to consider what cultivar/strains you want to infuse, as certain cultivars will have different cannabinoid and terpene profiles, which could potentially have an impact on the the effects of your infusion when consumed.
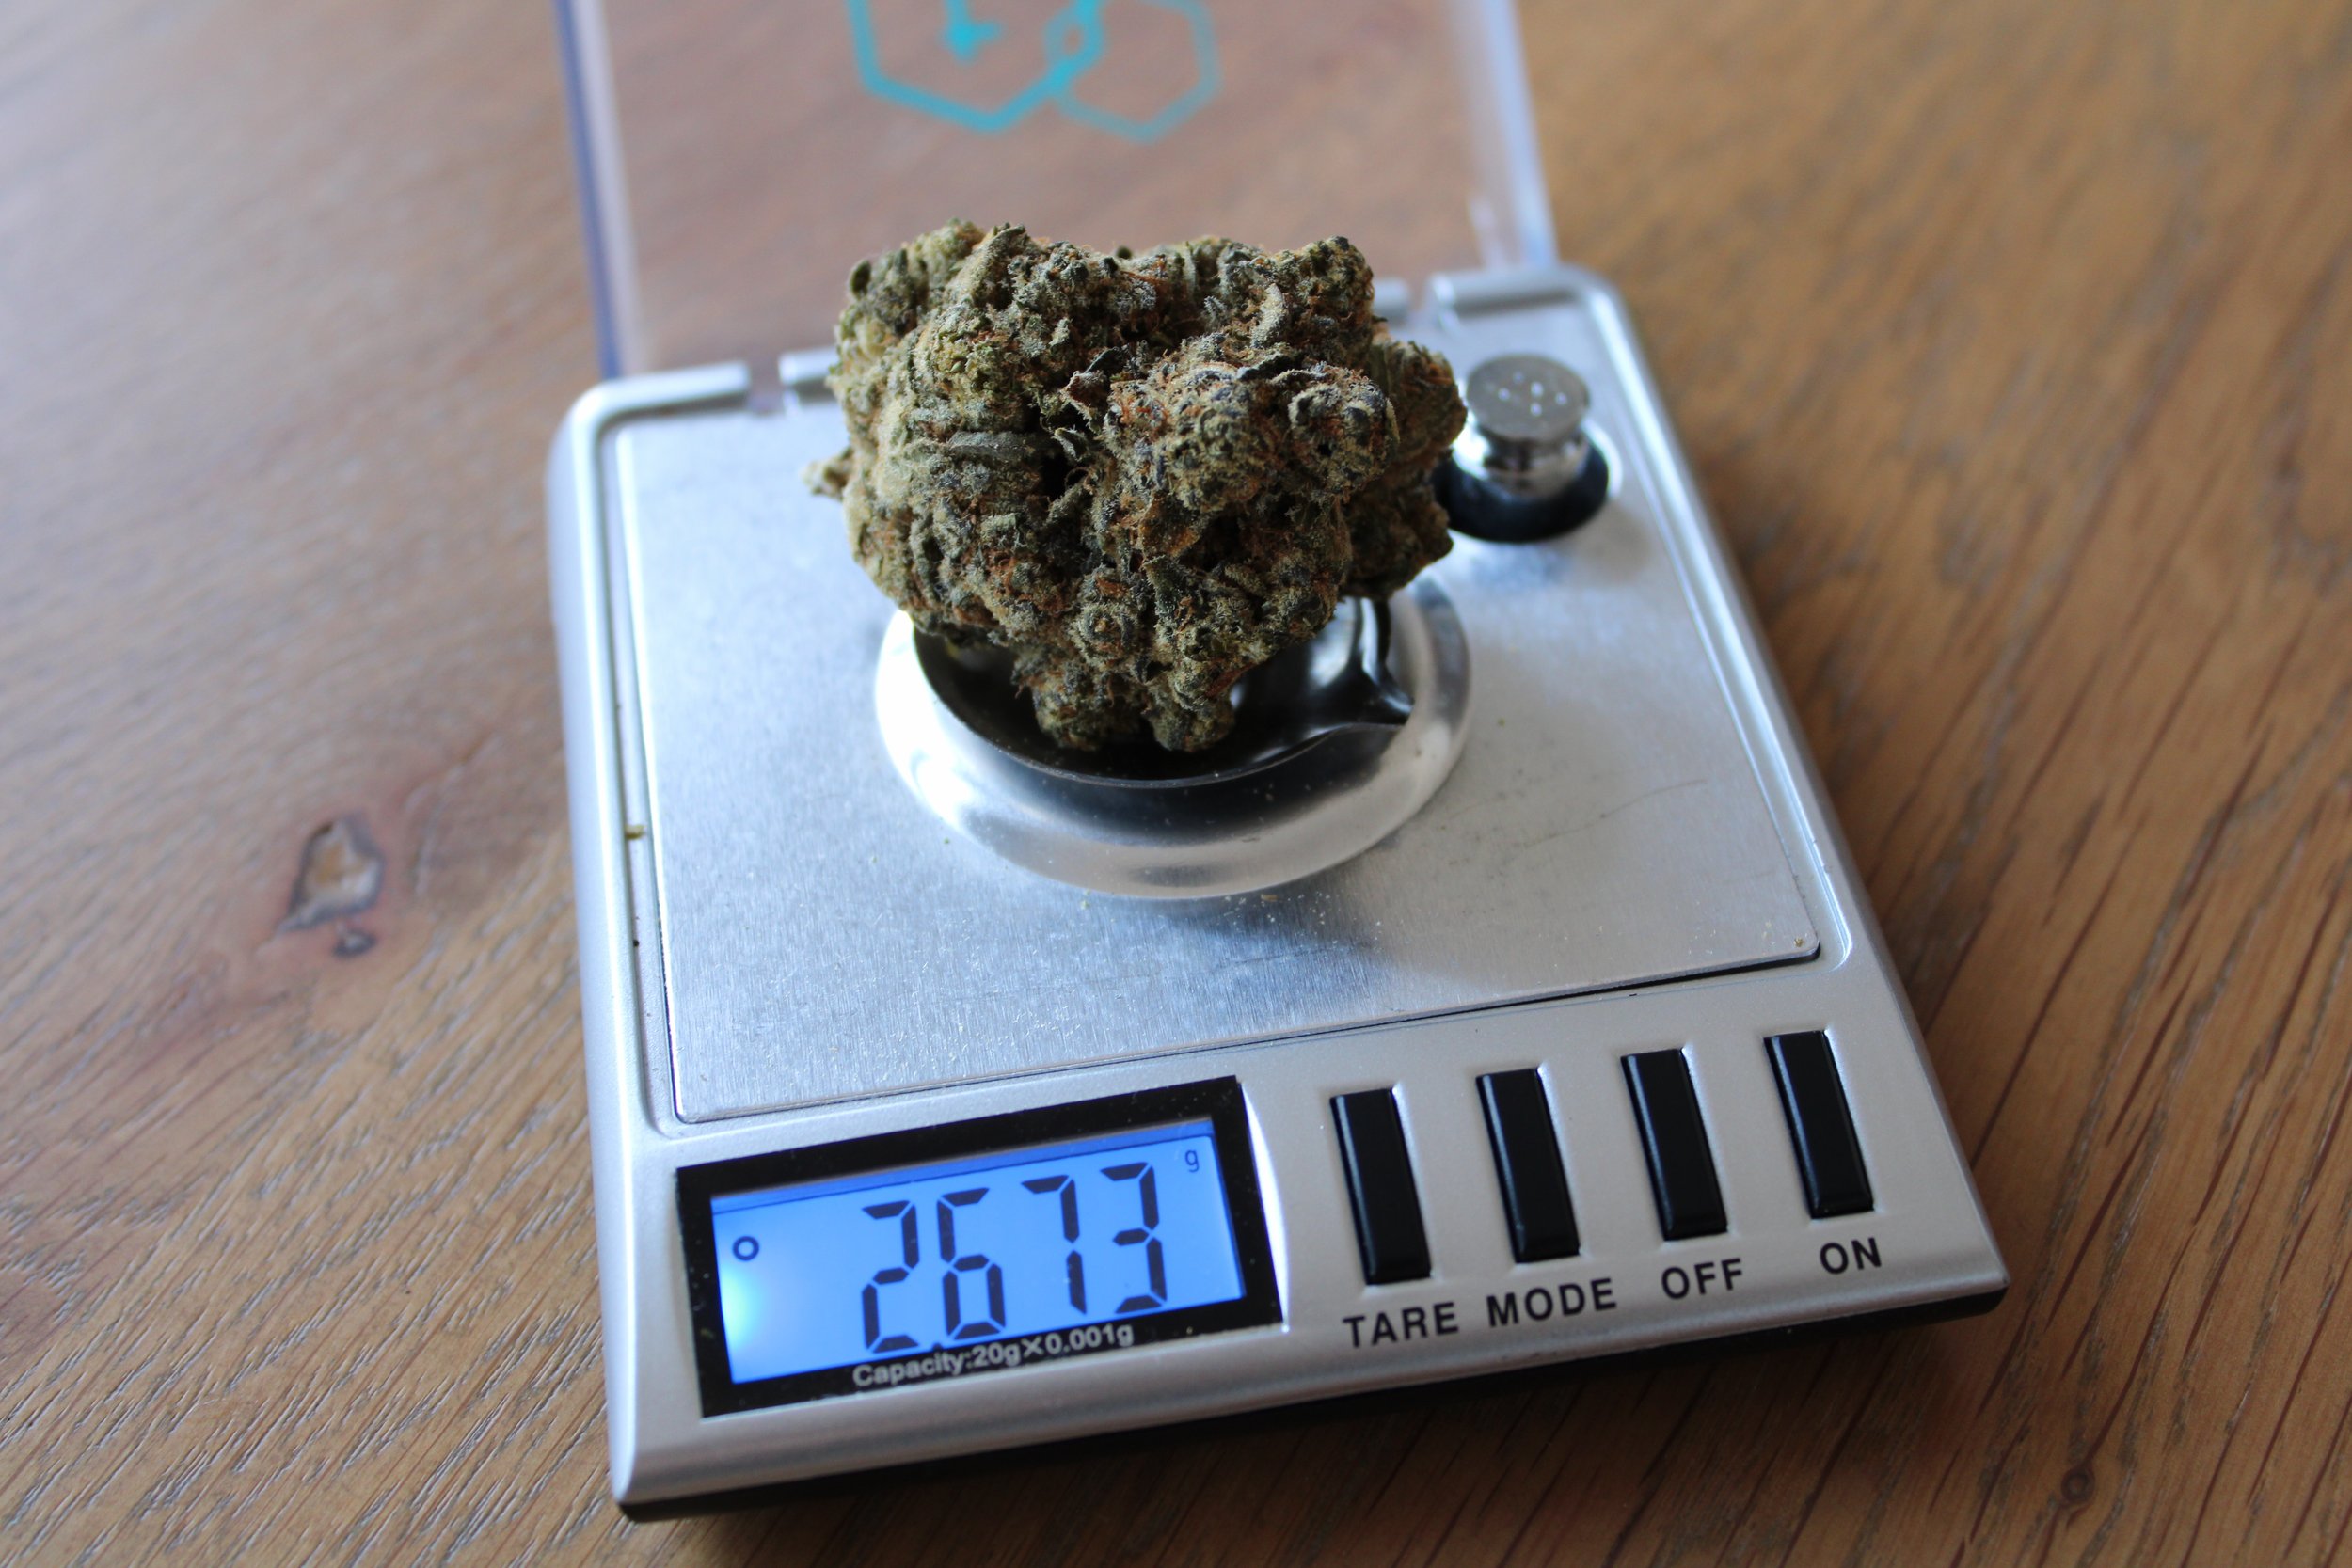
Digital scales are a great way to measure the weight of you cannabis. Opt for a scale that can read increments of 0.1g for more precise and accurate weighing.
After choosing your starting material, consider the quantity of cannabis that you want in your infusion. The more cannabis you infuse, the more potent your infusion will be. Personally I like to do some math to calculate what I want the potency of my end product to be by using an online dosage calculator. All I do is plug in different variables into the online calculator and play around with the numbers to get the desired potency per tablespoon or teaspoon. My personal preference is to create low-medium potency infusions because I like to use cannabis infusions in conjunction with the non-infused version of the cannabis infused product. For example, if I’m making cannabutter cookies and the let’s say the recipe calls for 1 cup of melted butter, I’ll use 1/2 cup of cannabutter, and 1/2 cup of regular butter. This is just my personal preference as I find it helps balance out the herbaceous “weed taste”. It also allows me to create perfect single serving edibles that are lower dose, but I’m able to eat more of the edible if I want. In my opinion, the worst thing is when you create a super potent edible and you’re only able to have a small piece of it, or when you can’t have seconds!
Step 2: Choose your carrier oil / base
Selecting the appropriate carrier oil or base will have a big impact on the use and purpose of your infusion. For example, if you are looking to create a sublingual cannabis oil, you may want to use MCT oil instead of coconut oil, as the latter solidifies at room temperature. You might also need to consider the onset and experience of your infusion. As an example, sublingual oils generally have a faster onset than cannabis edibles, as the latter needs to go through your digestive system which can have a delayed onset, and lasts longer in your body.
When it comes to choosing a carrier base, consider how you plan to use the infusion. You might choose to make a butter because you want to make baked edibles. Or you may choose to make a cannabis coconut oil if you are vegan.
Infusions also don't have to be ingested - you can infuse cannabis into ingredients like shea butter as well, and make your own infused creams and lotions!
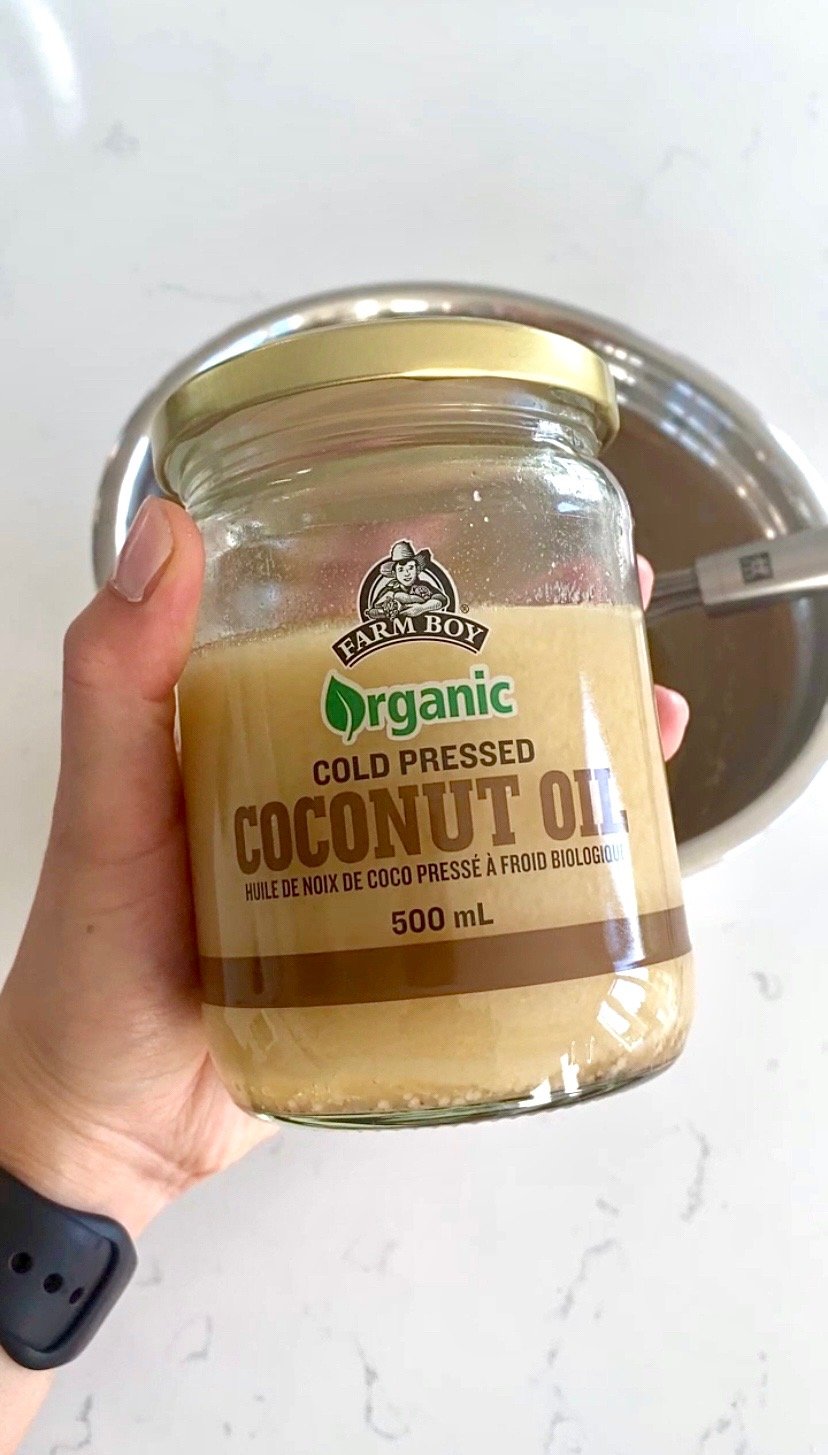
Organic cold pressed cannabis infused coconut oil
Step 3: Calculate the Dosage and set your intentions
As mentioned above, choosing the amount of cannabis that you want to infuse is very important. I like to write down the cannabinoid % and weight of your starting material, and the amount of oil that you want to infuse. This step is extremely important because you will need to do some math to calculate what the dosage will be per serving. Use an online dosage calculator to easily determine what the potency of your infusion will be. Remember to add a buffer to your numbers, as DIY infusions may not always be accurate. Home environments are less controlled than licensed facilities, and many variables can affect the final numbers of your infusions.
In addition to using an online dosage calculator, I like to have a second point of reference by using my tCheck potency tester device. The tCheck is a compact at-home device that can test the THC and CBD % of your dried cannabis and cannabis infusions (ie. butter, coconut oil, extra virgin olive oil, and alcohol). Use code “CANNABINISTA” for $25 off your tCheck potency tester device.
Whenever I make cannabis infusions, I always set an intention on what the purpose of your infusion is for. If you want a potent oil, you may want to use more herb. If you want a balanced oil, you may want to include CBD flower into your infusion as well.

Use code “CANNABINISTA” for $25 off your tCheck potency tester device.
Step 4: Decarboxylate your cannabis
Anyone that has cooked with cannabis or made cannabis infusions will always say this: ALWAYS DECARBOXYLATE YOUR PLANT MATTER! Without decarboxylating your cannabis, THC and CBD will not be activated, and you will only have your precursor cannabinoids THCA and CBDA.
Decarboxylation is a chemical reaction that removes a carboxyl group and releases carbon dioxide (CO2). Usually, decarboxylation refers to a reaction of carboxylic acids, removing a carbon atom from a carbon chain. This is an important step prior to infusing your cannabis. In plain English, you must apply heat to your cannabis which converts the active compound in raw cannabis: THCA (which is non-psychoactive), to THC, (which is psychoactive). The same rule applies for CBDA to CBD.
HOW TO DECARBOXYLATE YOUR CANNABIS AT HOME:
There are a few methods to decarboxylate your cannabis. Below I will share 4 methods that I have used to decarboxylate, however the first 2 methods are my preferred methods because they odour-free and easy to clean.

Ardent Fx + LEVO II: My two favourite cannabis kitchen devices that make decarbing and infusing super easy
Ardent Fx All-In-One Cannabis Device
The Ardent Fx is a cannabis kitchen device that can decarboxylate and infuse your cannabis, and you can even cook or bake directly in the same machine.
Ardent has proprietary technology that optimizes the temperature and time for the decarboxylation of your cannabis.
Ardent Fx claims to be able to precisely activate between 97%-100% of your cannabis and maintain as many cannabinoids as possible.
The LEVO II is a beautifully designed cannabis kitchen device that can decarboxylate and infuse your cannabis.
LEVO has more customizability than the Ardent in a sense that you can set your own temperatures and times for decarboxylation and infusion.
When I use my LEVO II, I like to decarboxylate for 40-45 minutes at 240F.
The Classic Oven Method
The oven method is definitely a classic but it’s a method that I’ve personally done a few times and never again, simply because the odours are crazy! Every time I’ve done the oven method, my kitchen and entire home has smelt like cannabis and it was not pleasant. Although this method is relatively inexpensive as you don’t have to invest in any additional equipment, it’s a method that I will never resort to again given that I have more advanced devices that can contain the odour from decarbing.
If you want to try the oven method, all you need is a large baking tray with parchment paper or aluminum foil, and lay your dried cannabis (you can break it apart into smaller chunks) on the tray and bake for 30-40 minutes at 240-250F. The temperature and time can range as it really depends on the oven that you’re using, how old the oven is, which rack you have the tray on, etc.
Stone Bowl on a Portable Electric Stove/Burner/Hot Plate
If you don’t want to invest in an Ardent or LEVO, and you don’t want your house to smell, try using a stone bowl on an electric stove or burner in your backyard or balcony. I’ve personally tried this method when I used to live in a condo and I can confirm that it did not stink up my house!
Stone bowls like the ones that hold delicious Korean soups is like a traditional Asian crock pot. The stone bowl does a great job of maintaining even heat throughout the entire bowl, and the thickness of the bowl makes it really hard to burn your cannabis.
When using the stone bowl method, I like to decarb my cannabis at medium heat for 40-45 minutes at 240-250F. If your burner isn’t that accurate, try supplementing with a thermometer to double check the temperatures.
Step 5: Infuse your cannabis
After your cannabis is finished decarbing, you can start infusing your dried herb into your carrier oil or base. The options are endless when it comes to a base - you can choose from butter, milk, dairy-free substitutes, coconut oil, hemp oil, shea butter, and much more!
The only prerequisite in choosing a carrier is that it must contain fat content in order for the cannabinoids to bind. The fattier the better. Cannabinoids are lipid and will be better absorbed and digested by your body if it's infused with a fat based ingredient.
HOW TO INFUSE YOUR CANNABIS AT HOME:
Ardent Fx All-In-One Cannabis Device
The Ardent has one infusion setting which can last as long as you like, and it uses a temperature of 170F. Because the decarbing process is the step that activates the cannabinoids, I generally just infuse for at least 30 minutes, but usually an hour.
The LEVO II oil machine allows you to customize the temperature and duration of your infusion process. Usually I will infuse for 2 hours at 150-170F because thats the standard setting that shows up on the screen. You probably don’t need to infuse for that long as long as you have the dearboxylation process completed correctly.
The Classic Oven Method
If you’re using the classic oven method for the decarbing process, there are 4 common ways that you can transition to the infusion process. All of these methods can get pretty messy and dank, but they get the job done.
Infusing in the oven with a glass mason jar or oven-safe bowl/pot: Transfer the decarbed cannabis into a glass mason jar or oven safe bowl with your carrier oil / base. Lower the temperature to 150-170F and infuse for 1 hour.
Transferring the cannabis to a crock pot: Take the dried cannabis from the baking tray and put it into a crock pot with your carrier oil / base. Set the temperature on the crock pot to 150-170F and infuse for 1 hour. If your crock pot doesn’t have temperature settings, I recommend using a low-medium heat. With this method, you may need to occasionally stir the mixture to prevent it from burning. You can also put the cannabis infusion into a glass jar and then just use the crock pot like a sous-vide device, to prevent the cannabis from burning.
Using the stove top to infuse: Transfer the dried cannabis to a non-stick pot and add your carrier oil / base. Set the temperature to low-medium heat just enough to get a light simmer. With this method, you will need to occasionally stir the mixture to prevent it from burning.
Sous-vide: If you have a sous-vide machine and a large pot, combine your decarbed cannabis and carrier oil / base into a glass mason jar and put it into the pot with water. Set your sous-vide device to low-medium heat, just to get a light simmer. This method allows you to set it and forget it because you don’t have to worry about the cannabis burning.
Stone Bowl on a Portable Electric Stove/Burner/Hot Plate
Add your carrier oil / base directly into the stone bowl. Lower the hot plate temperature to low-medium heat just enough to get a light simmer. With this method, you will need to occasionally stir the mixture to prevent it from burning.
Step 6: Storing & Using your cannabis infusion
Last but not least, storing your infusion is the key to preserving the cannabinoids and maintaining the quality of your infusion and all the hard work you put into it! It is recommended to store your infusion in a sealed-tight glass container, glass dropper bottle, or mason jar, in a dark cool environment. These type of settings help prevent oxidization. If your infusion is something that needs to be stored in the fridge, try to use it up before it expires.
When it comes to using your infusions, get creative and have fun! There is no right or wrong, or one size fits all approach when it comes to using infusions. You can cook with your infusion, make drinks, bake with it, or even use it as a cream! The options are endless. As a reminder, always start low and go slow.

Hello! I’m Anna and I’m a cannabis recipe developer and digital content creator with a huge passion for food and the plant.
I love creating healthy and delicious cannabis infused recipes as I believe it’s a great way to consume the plant. I’m very lucky to be living in a country like Canada, where cannabis is legalized recreationally and medically.
Outside of making yummy recipes, I’m an advocate and educator for the plant, working to end stigmas. I believe that just because you consume the plant, it does not define who you are or your success as an individual. Cannabis consumers come from all walks of life, and their choice for consumption should be respected.


